



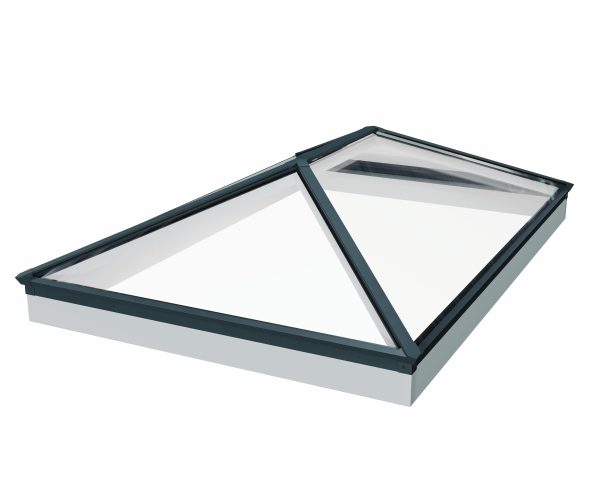

Installing an all aluminium conservatory roof vent is an excellent way to improve ventilation, reduce condensation, and create a more comfortable living space throughout the year. Whether you’re fitting a conservatory roof vent into a new glazed roof system or upgrading an existing installation, following the correct fitting procedure will ensure reliable performance and weather-tight sealing.
Why Choose an Aluminium Conservatory Roof Vent?
Modern glazed roof vents are designed to provide effective airflow while maintaining the strength and appearance of your conservatory roof. An all aluminium conservatory roof vent offers several benefits:
- Durable, corrosion-resistant construction
- Low maintenance requirements
- Improved ventilation and temperature control
- Reduced condensation build-up
- Suitable for glass and polycarbonate roof systems
- Sleek, contemporary appearance
All Aluminium Roof Vent Downloadable Fitting Guide
Before You Begin
Carefully inspect the roof vent upon delivery and handle all components with care during installation. The vent is designed to accept glazing from both above and below, although glazing from a single side is also possible if required.
Important Sealing Requirement
Where the glazing enters the U-channel at either the top or bottom of the vent, it must be sealed internally and externally using a suitable silicone sealant. Failure to seal these areas correctly may result in water ingress and leaks.
If glazing is only fitted below the vent, consider installing a spacer within the upper H-section to reduce the risk of crushing when fitting glazing beads.
Step 1: Remove the Vent Lid
The lid is fully removable, making installation and future maintenance much easier.
- Open the vent lid fully.
- Locate the small grub screw in each hinge.
- Remove the grub screws.
- Carefully push out the hinge pins.
- Lift away the lid.
Keep all components safe and remember to refit the grub screws once installation is complete to prevent the hinge pins from working loose during operation.
Step 2: Glaze the Vent Lid
With the lid removed, you can install the glazing panel.
The retaining beads are known as “shuffle beads” and fit into dedicated slots within the lid frame.
- Remove the shuffle beads.
- Position the glazing panel inside the lid.
- Refit the top and bottom beads first.
- Install the side beads.
- Ensure all beads are fully located in their slots.
- Turn the lid over and press the glazing firmly against the beads to lock everything securely in place.
Step 3: Fit the Wedge Gasket
The wedge gasket provides a weather-tight seal between the glazing and the vent lid.
The gasket has:
- A curved face that sits against the glazing.
- A grooved side known as the “lock throat” that clips onto the vent lid.
Starting in one corner:
- Push the gasket between the glazing and the vent lid.
- Ensure the lock throat clips securely onto the frame.
- Continue around all four sides.
- Trim neatly where required for a professional finish.
Step 4: Refit the Lid
Once glazing and gaskets are installed:
- Position the lid back onto the vent frame.
- Reinsert the hinge pins.
- Refit the grub screws securely.
- Attach the opening mechanism or winder.
The conservatory roof vent is now fully installed and ready for use.
Maintaining Your Glazed Roof Vent
Regular maintenance will help ensure long-term performance:
- Check seals annually.
- Clean glazing and aluminium surfaces with mild soapy water.
- Inspect hinges and opening mechanisms periodically.
- Ensure drainage channels remain free from debris.
Improve Ventilation with a Quality Conservatory Roof Vent
A professionally installed all aluminium conservatory roof vent can significantly improve airflow, comfort, and energy efficiency within your conservatory. Designed for strength, durability, and easy maintenance, modern glazed roof vents are an ideal addition to any glazed roof system, helping to create a brighter, healthier, and more enjoyable living environment.