-
- Smart Canopies Full range of Omega Smart Canopies
- Canopy Side Panels Glazed side panels for the Smart Canopy
- Smart Canopy Accessories Accessories to enhance your Smart Canopy
- Lean-to Canopies Wall-mounted (Lean-To) canopies
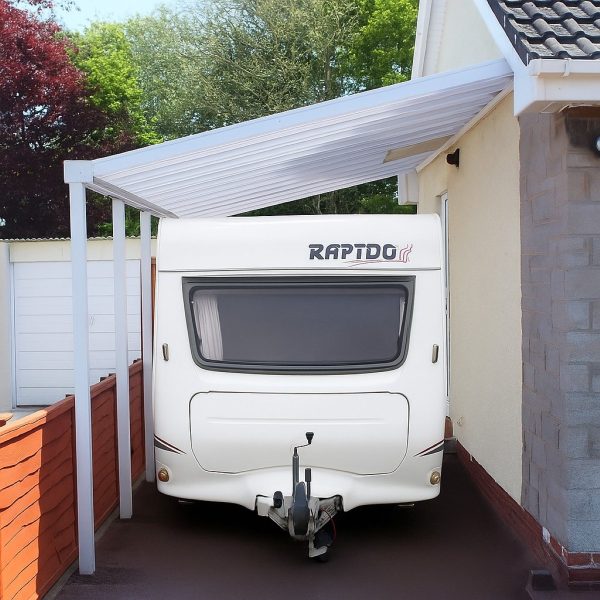
- Carports Vehicle Shelters with open sides
- Free-Standing Canopies Standalone , Glazed-Roof structures
- Door Canopies Glazed over-door cantilever canopies
- Curved Roof Canopies Freestanding Canopies for taller Vehicles
- Special Offer Canopies Great prices on our Canopies Buy Now
-
Popular Products
-
 Clearance
-
-
- Polycarbonate Roofing Sheets Lightweight, hollow, insulated roofing sheets
- Solid Polycarbonate Sheets UV protected glass clear flat polycarbonate
- Greenhouse Polycarbonate Sheets 4mm Polycarbonate Panels for greenhouses
- Polytunnel Sheets Extra long flexible sheets up to 7 metres
- Glazed Roof bars and Components Bars and Fixings for your roofing panels
- Polycarbonate Special Offers Great deals and offers on Polycarbonate Sheets
- DIY Lean to Roof Kits Polycarbonate and Glazing bars for a lean to roof
- All Polycarbonate Sheets Our premium, UK-manufactured Polycarbonate Sheets
-
Special Offers
-
 Low Price
-
-
-
-
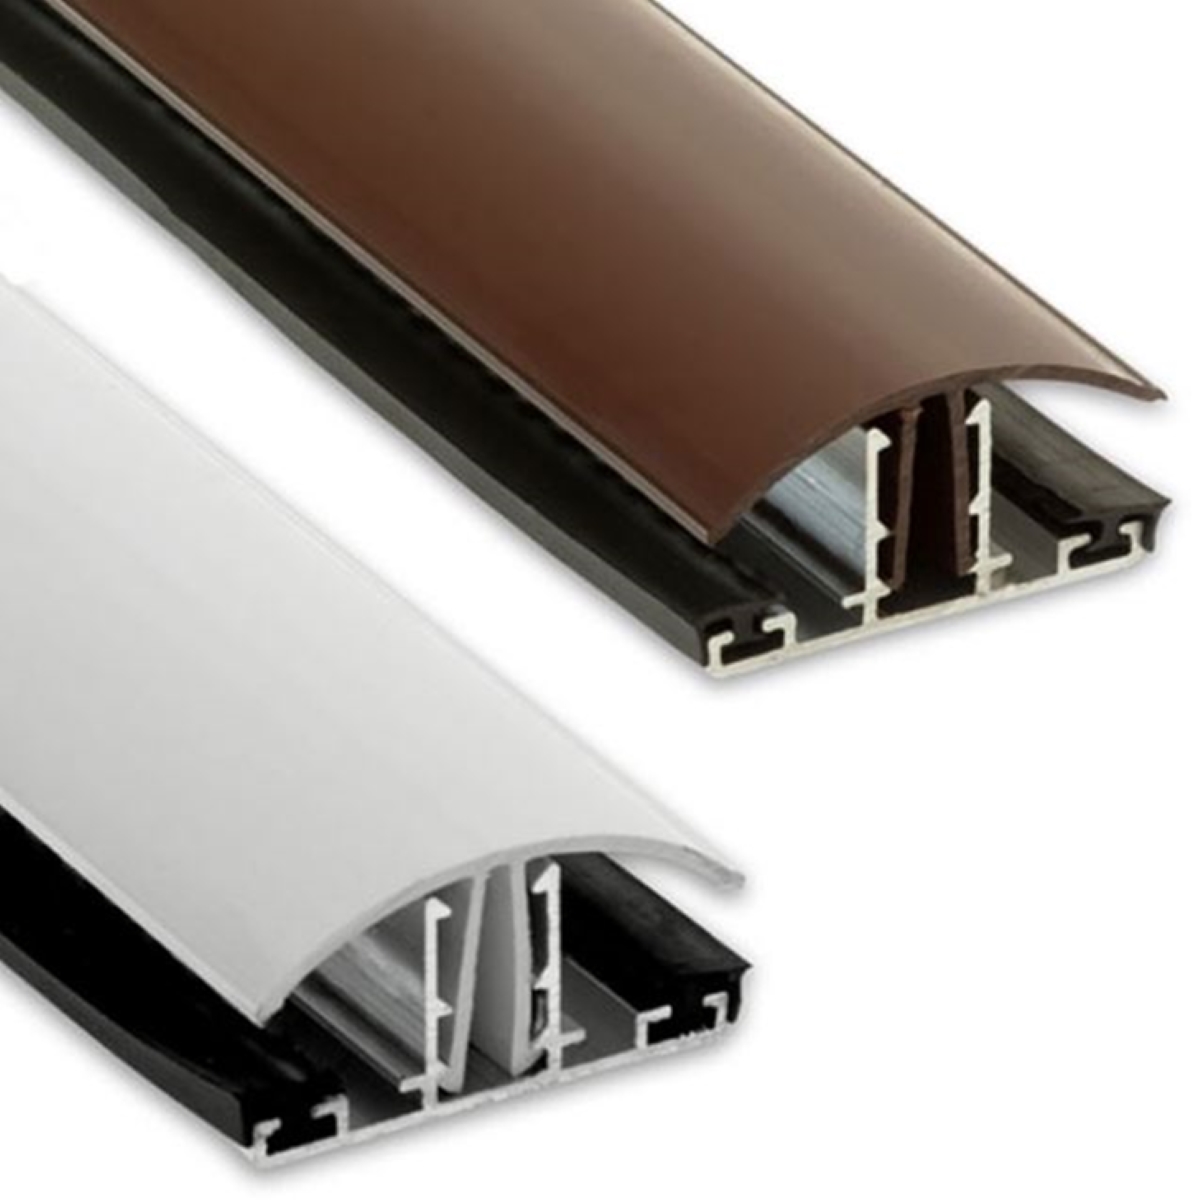 Rafter Supported Snapfix Glazing Bars
Best selling rafter supported bars for polycarbonate
-
 Glazing Bar Accessories
Tapes, edging trims and fixings
-
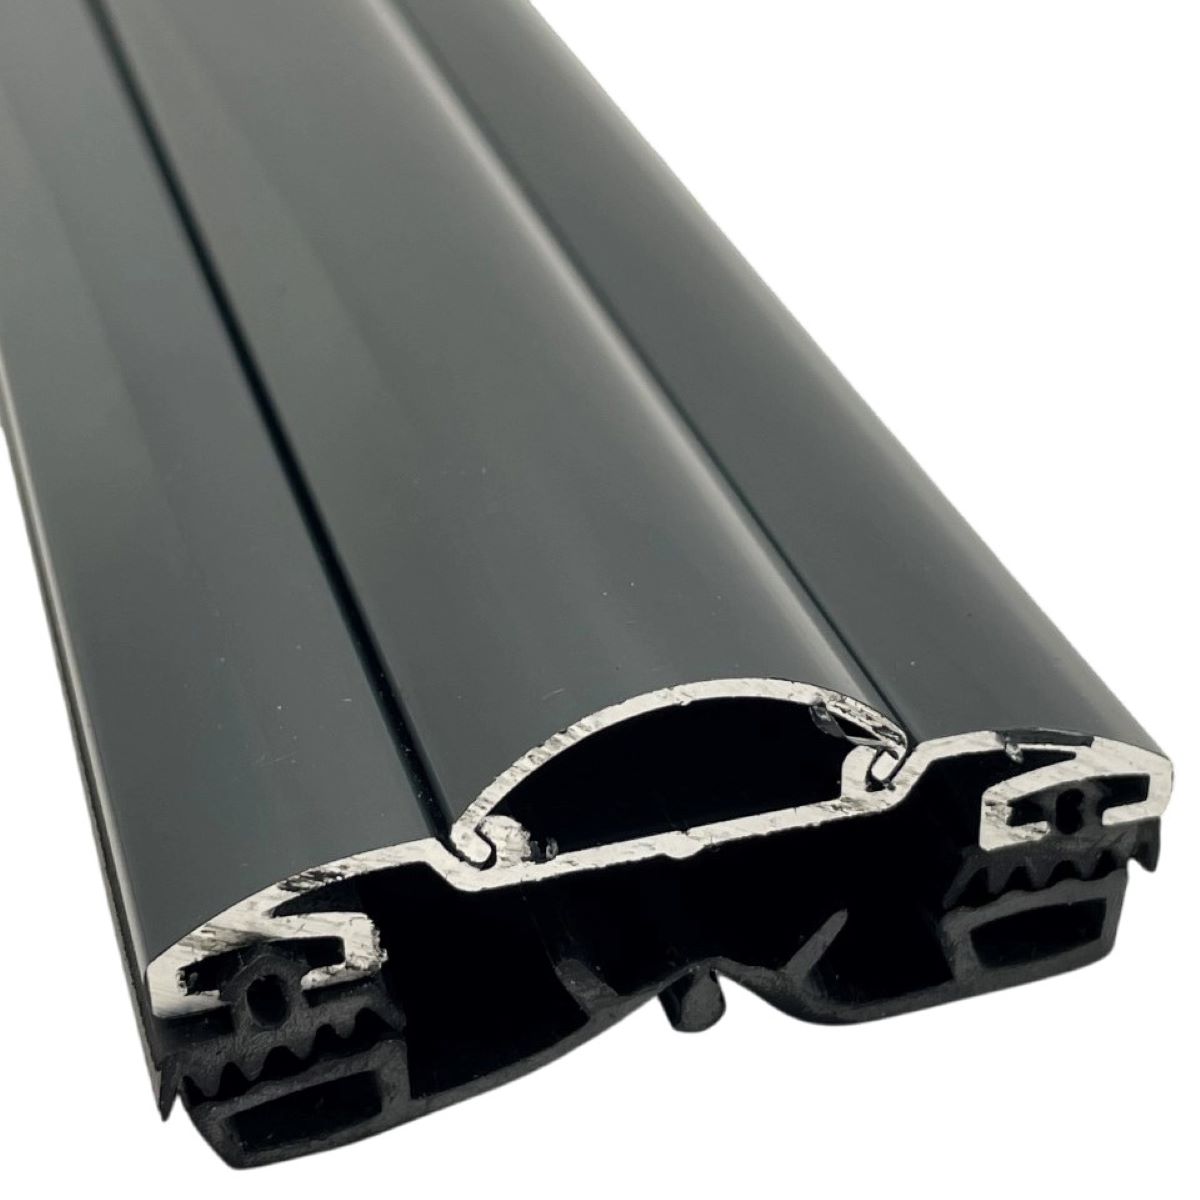 Aluminium Rafter Supported Glazing Bars
Rafter supported bars for glass and polycarbonate
-
 Grey Aluminium Rafter Supported Bars
Capex rafter supported bars for glass or polycarbonate
-
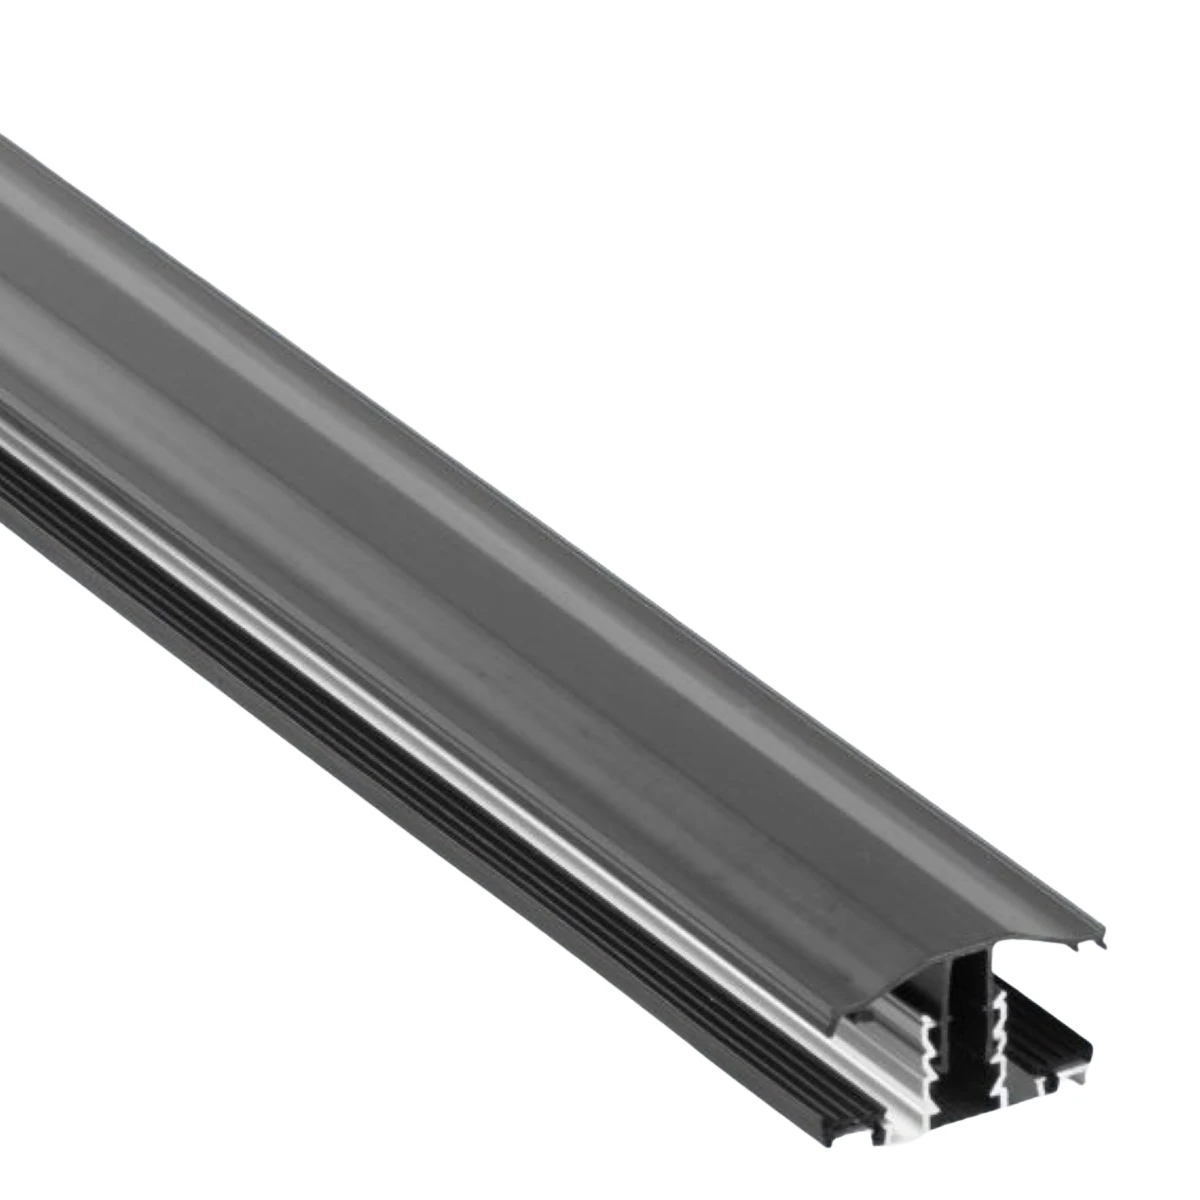 Grey Rafter Supported Snapfix Glazing Bars
Anthracite grey snapdown rafter supported bars for polycarbonate
-
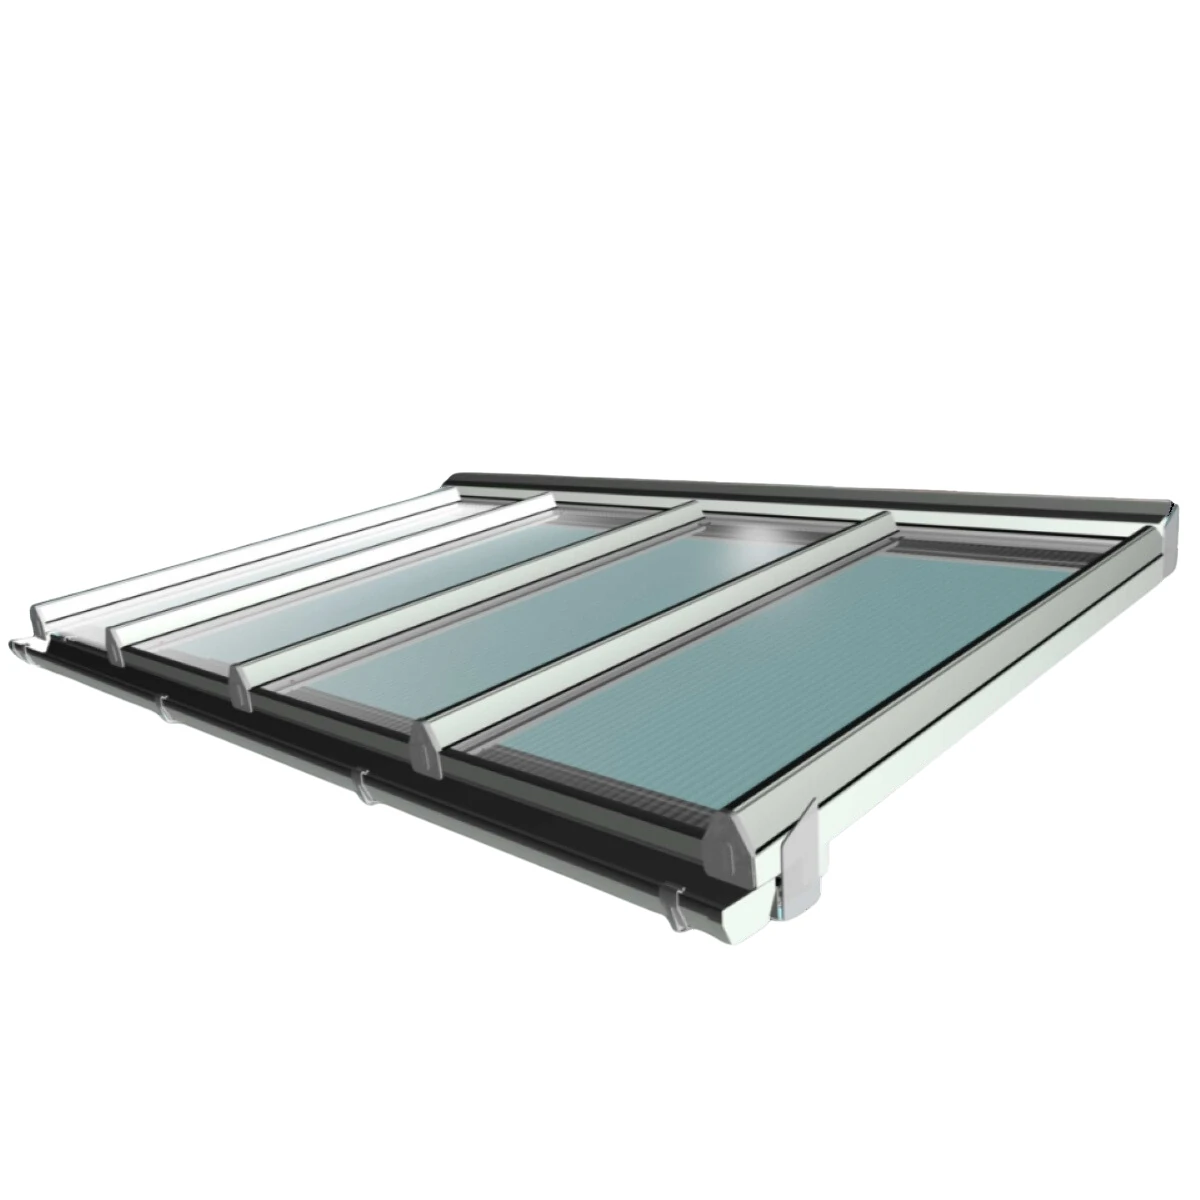 Self-Supporting Glazing Bars for 16, 25, 32, 35mm polycarbonate & glass
Self Supported system for DGU's and polycarbonate
-
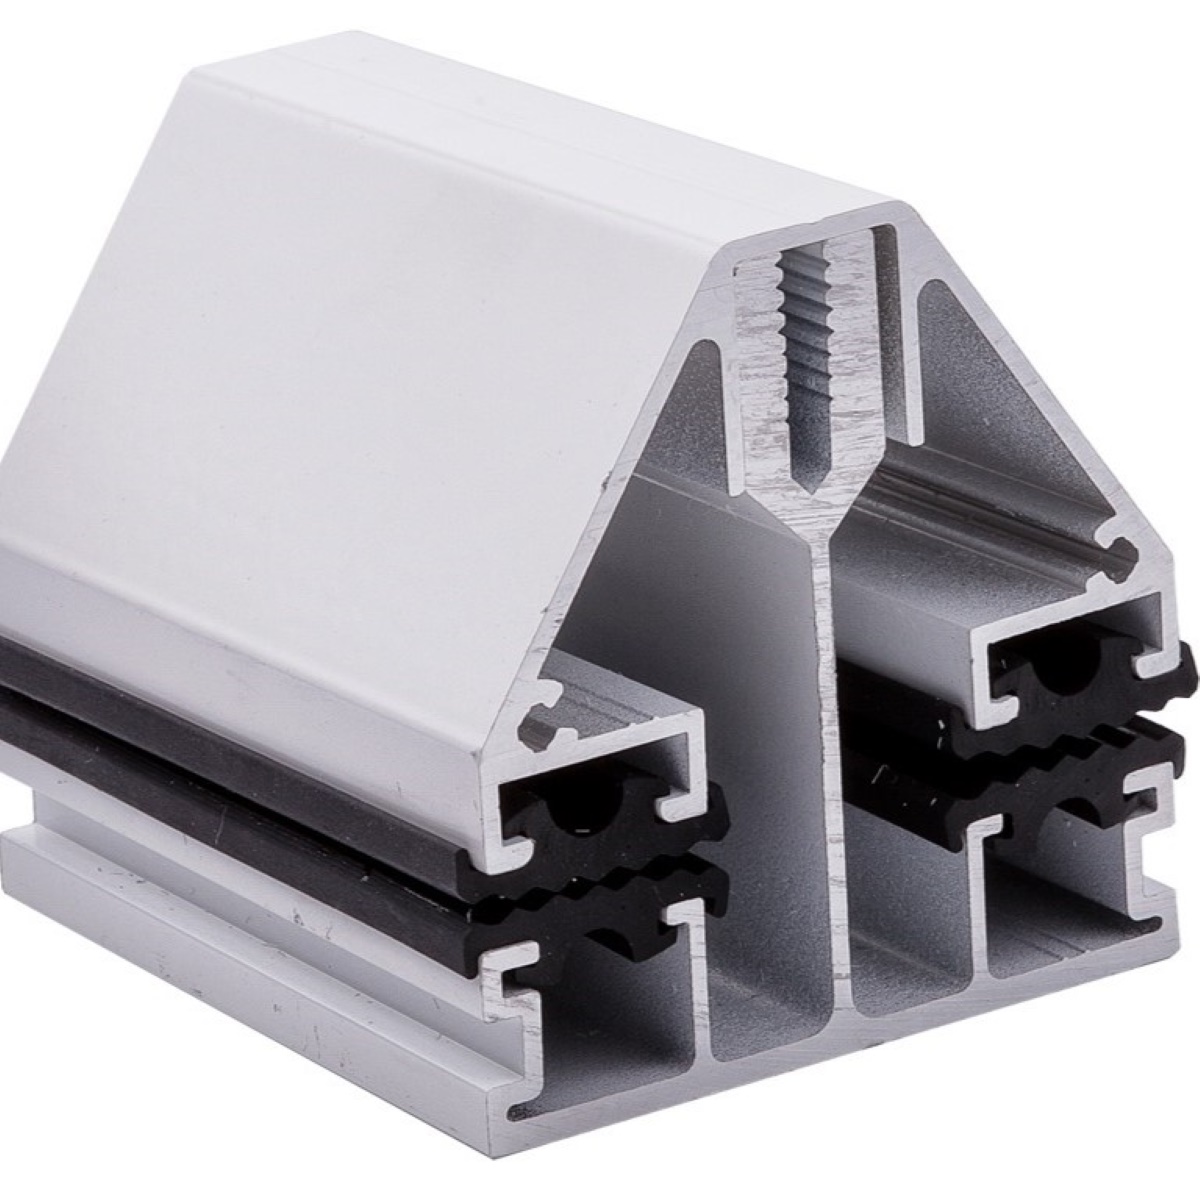 Mid Span Self-Supporting Glazing Bars for 6mm to 25mm glazing
Self support aluminium bars for single glazed glass and polycarbonate
-
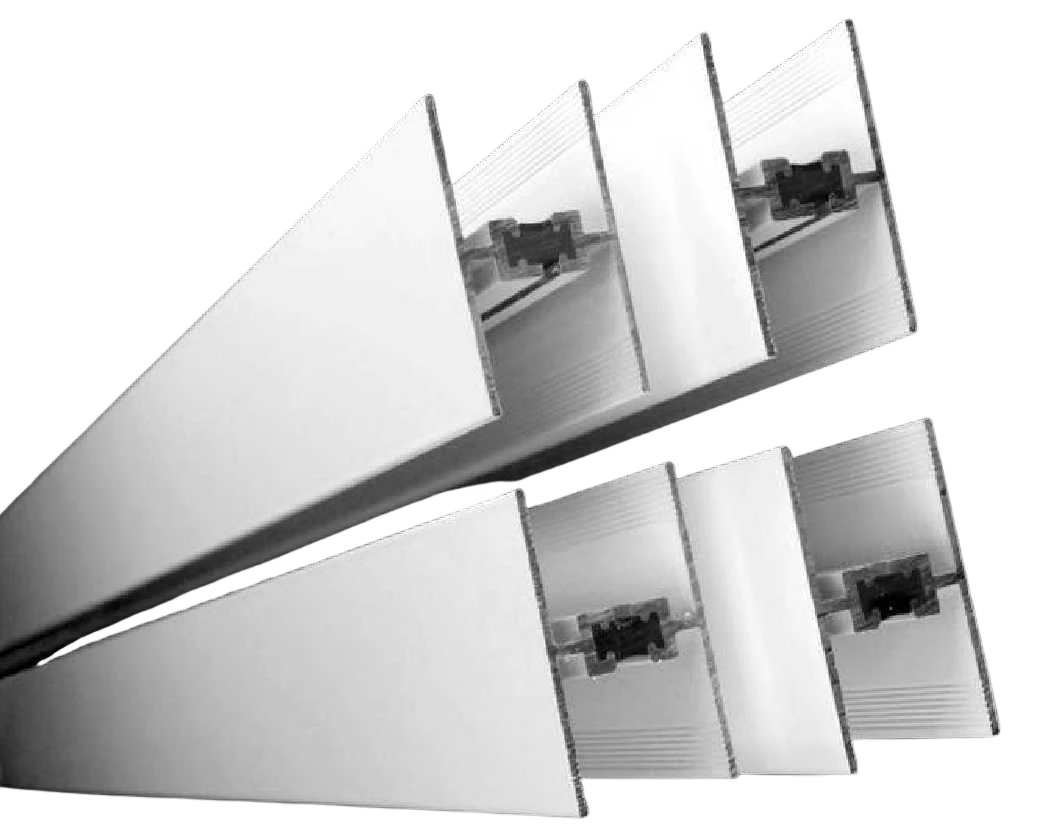 Muntin Bars
Joiners for DG units and Polycarbonate
-
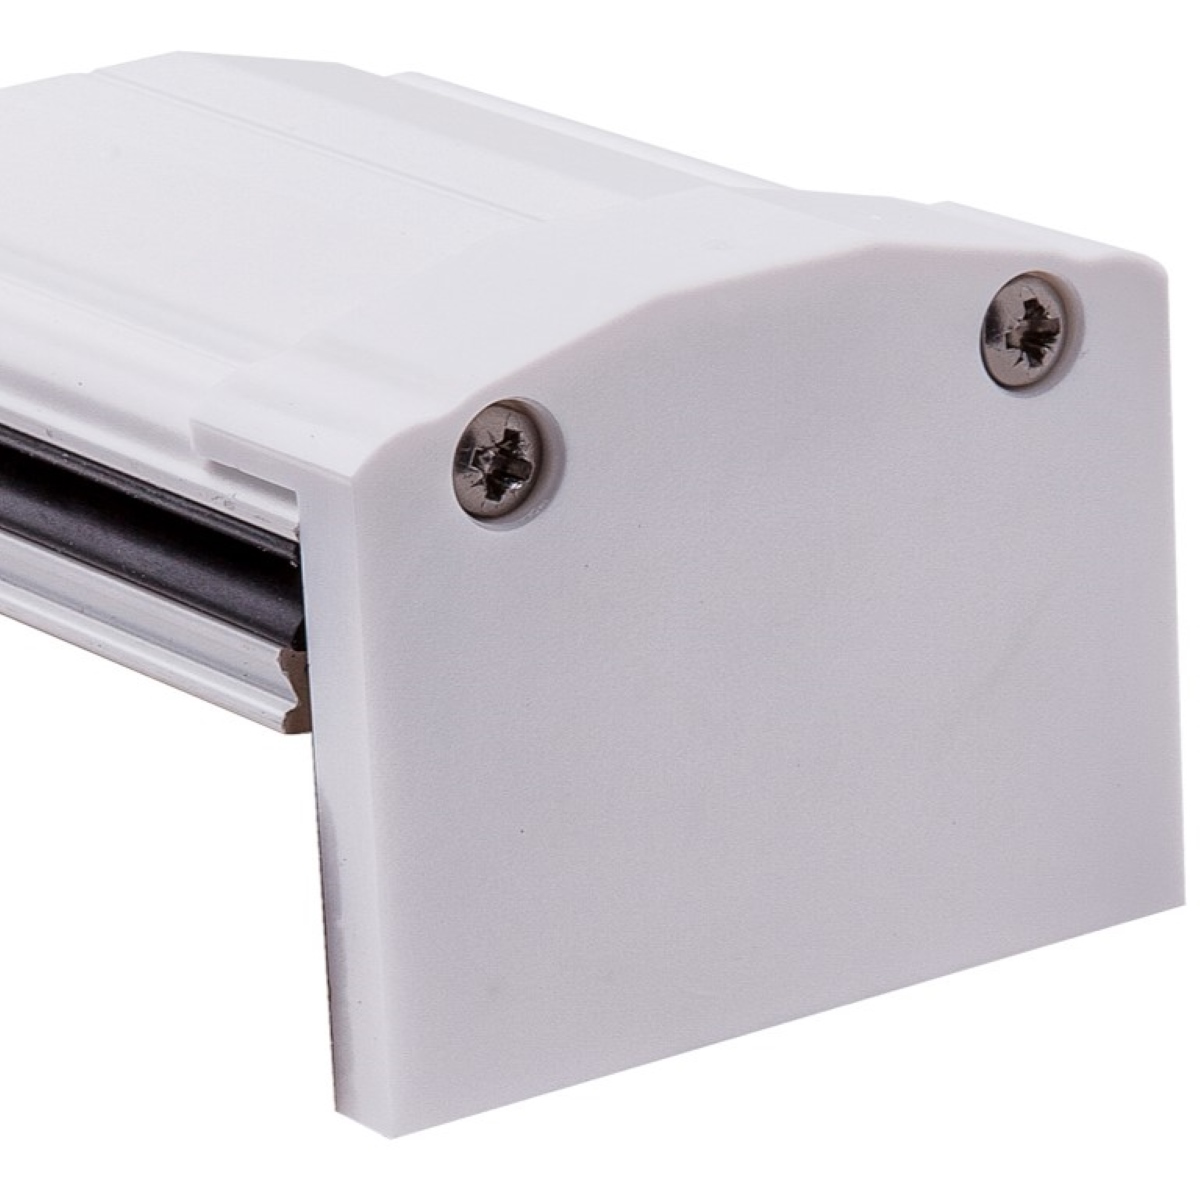 Short Span Self-Supporting Glazing Bars for 4mm to 25mm glazing
Self support aluminium bar for polycarbonates and single glazing
-
-
Popular Products
-
-
- R glaze Polycarbonate Roofing Sheets New quick-fit glass clear polycarbonate sheets
- PVC Corrugated Roof Sheets Lightweight and durable for weatherproof roofing
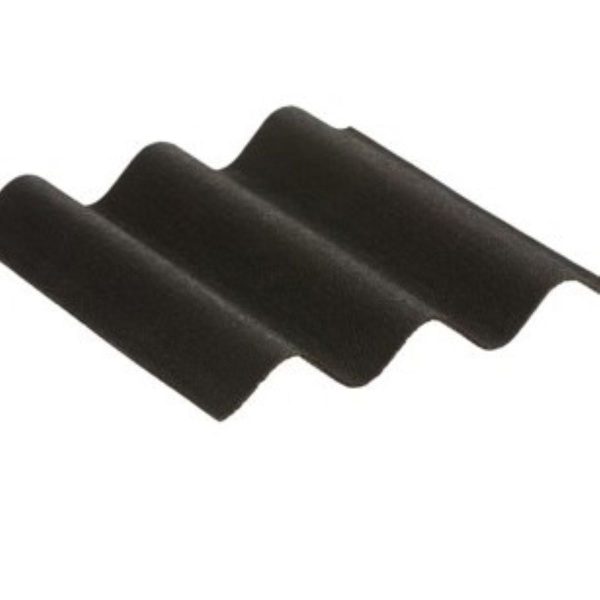
- Bitumen Corrugated Roofing Sheets Weather-resistant sheets designed for durability
- Ez Glaze Polycarbonate Roofing Sheets Easy to fit solid polycarbonate panels
- Metal Corrugated Roofing Sheets Galvanised 8/3 corrugated roof sheets
-
Trending Products
-
 Low Price
-
-
-
- All Secondary Glazing Our complete range of Secondary Glazing
- Premium Glass Secondary Glazing Tailor-made glass Secondary Glazing units
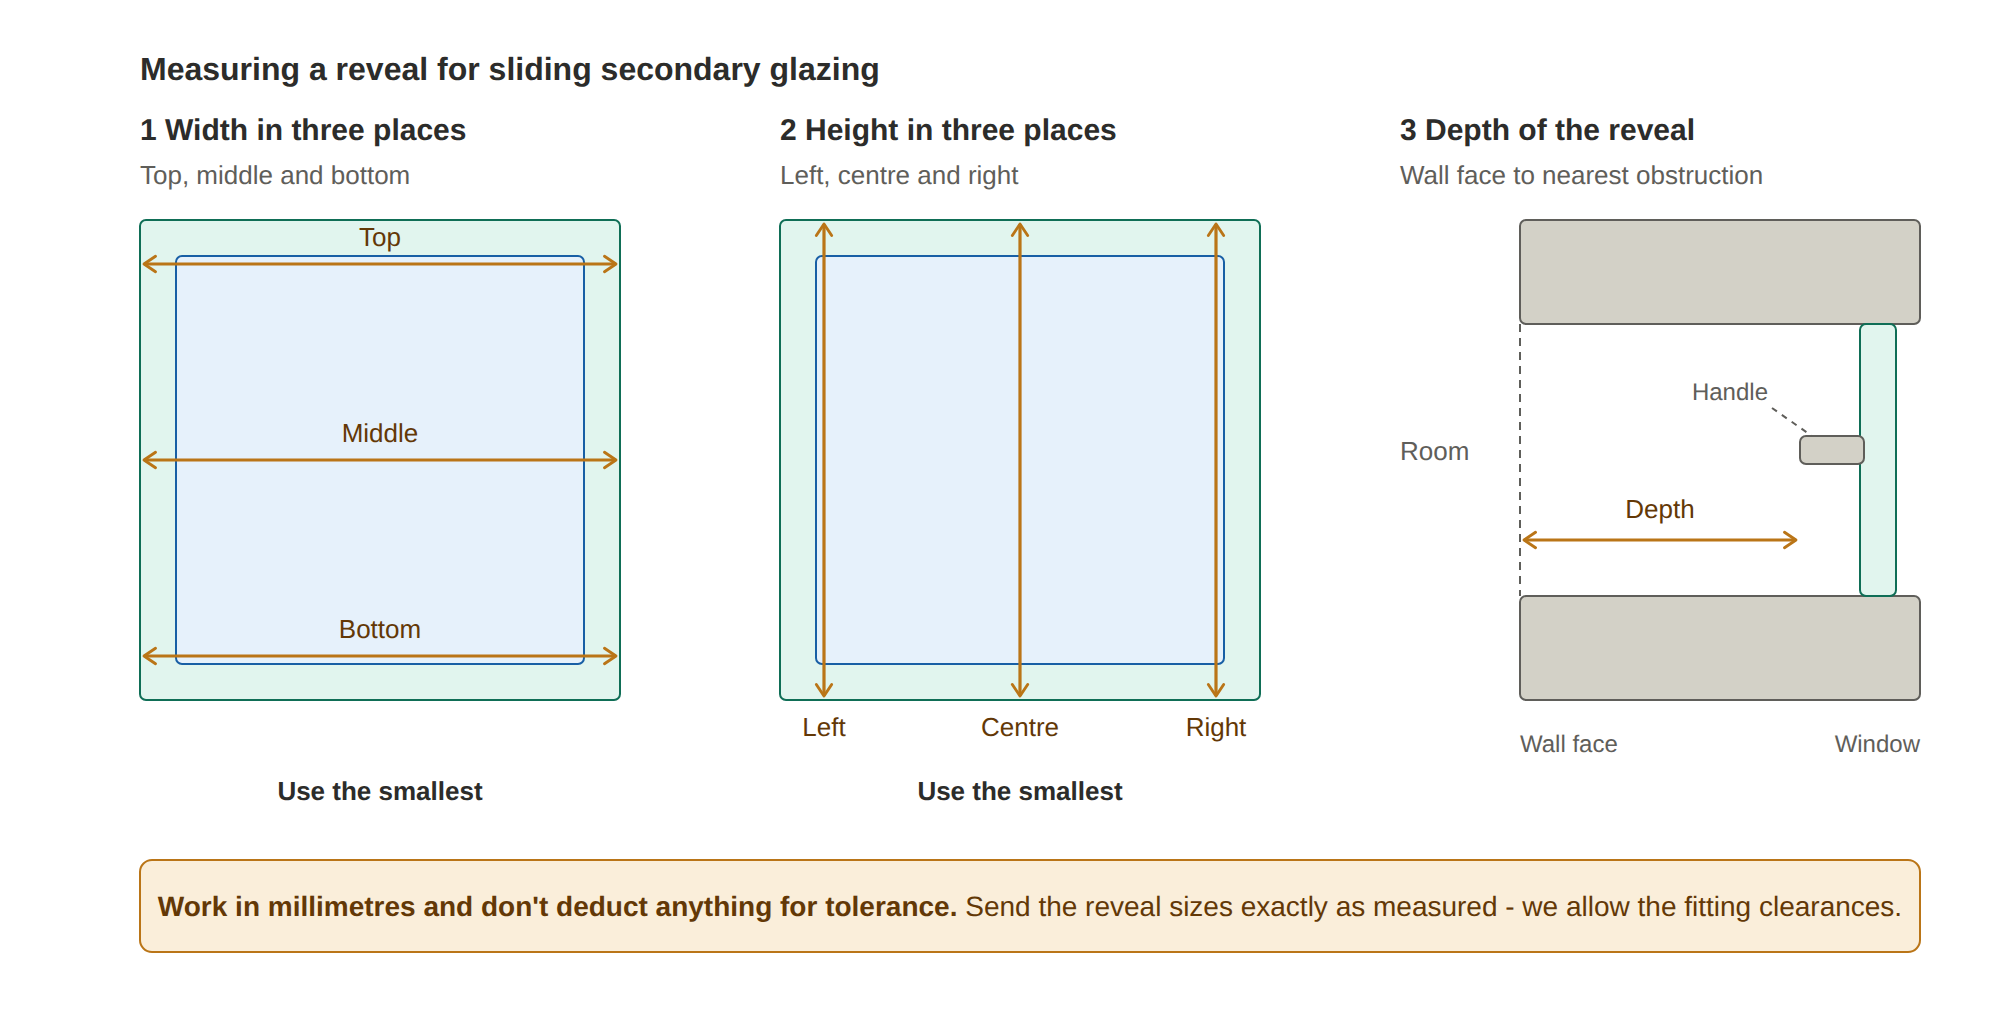
- Sliding Secondary Glazing Kits 2, 3 & 4 panel sliding Secondary Glazing Kits with frame
- Accessories, Fittings and uPVC Fixings Additional fixings and fittings for secondary glazing
- DIY Frame Kits Panels & accessories for DIY fixed Secondary Glazing
- Omega Smart Secondary Glazing Our own brand range of secondary glazing & accessories
- Hinged Secondary Glazing Kits Casement-style single secondary glazing panels
-
Popular This Month
-
-
- Conservatory Roof Vents Designed for glass and polycarbonate roofs
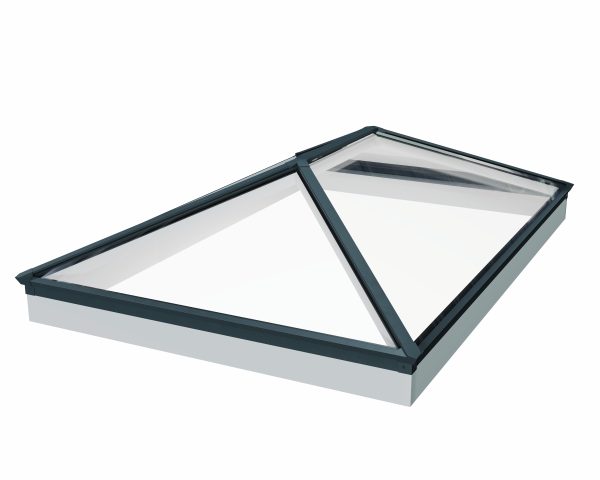
- Roof Lanterns Thermally efficient lanterns for flat roofs
- Dome Rooflights Insulated polycarbonate roof lights for flat roofs
- Flat Glass Roof Lights Minimalist design, maximum natural light
- Brett Martin Roof Lanterns Premium roof lanterns from Brett Martin
-
Popular Products
-
 On Sale
-
-